
Finding Matters
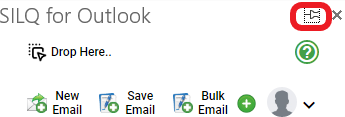
The Outlook Add-In is fundamentally matter centric, which means the first thing you do is to find the matter you are wanting to work on. You will notice that all icons are greyed out prior to the matter being chosen to ensure that is done.
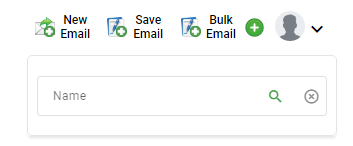
You can search for the matter in the below section.
If you know the matter number as you start typing you will get a progressive list of results that you can choose from.
On the other hand, if you only know the client name, then type in the name and click on the magnifying glass to get the results.
Already Selected Matters
As you move from email to email in your Inbox, SILQ remembers the previous matter you selected and will already have that pre-selected for you the next time you interact with the Add-In. Just remember, if you are now working on a different matter, you will need to search for and select that matter.
Pin to Inbox
By pinning the Outlook Add-In to your Inbox you will not get logged out as often as you otherwise would. SILQ has security measures to decrease the risk of private information being accessed by logging you out after a period of inactivity. However, by pinning SILQ to your Inbox the activity is measured by use of your Inbox as well as SILQ Outlook Add-in, giving a longer period before being logged out.
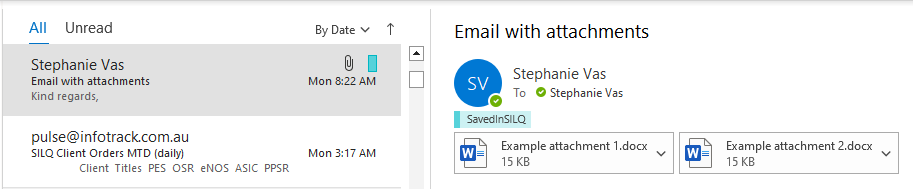
Categorising Emails as Saved in SILQ
You can have your emails automatically categorised to show that the emails has been saved in SILQ. This will look like the below. Find more information here.
Email Signature
When using the New Email button, you will need to ensure that your signature is added to the Online version of your Microsoft 365 Account so that it appears automatically for you.
Find more information here.
In the Desktop version of Outlook, you will need to add your signature to the bottom of each email generated. You will need to ensure that you have your cursor at the bottom of the email before adding the signature so as to ensure the signature ends up in the right spot.