- Help Centre
- Using SILQ Outlook Add-In
- Microsoft 365 Accounts
-
Setting up SILQ
-
Getting Started with SILQ
-
Financial Management
-
Advanced Accounting and Reporting
-
Trust Accounting
- Trust Accounting
- Controlled Money Receipts
- Statutory Deposits and Receipts
- Entering and Transferring Unknown Deposits
- Trust Accounting Chart of Accounts
- Trust Reporting
- Deposit Adjustments and Withdrawals
- Trust Account Bank Reconciliations
- Trust Reconciliation Example Scenarios
- Trust Transaction Dating and Trust Money Recording
- Trust problem trouble shooting
- Protected Trust
- Automatic Bank Feeds
-
Legal Details
-
Document register, Document templates and Court Forms
-
Using InfoTrack in SILQ
-
Using SILQ Outlook Add-In
-
SILQ & Word Integration
-
Exporting Data
-
Invoicing
-
Using SILQ
-
Reports
-
Emails in SILQ
-
Estates
-
Time Entries
-
MYOB
-
Xero
-
Dashboards
-
Budgets
-
Permissions
-
Contacts
-
SILQ Security
-
Early Access
-
Moving to SILQ
-
What's New
-
SILQ Desktop
-
Subscription & Billing
-
Lexon Integration
-
Firm Directory
-
Pricing Plans
Setting up SILQ's Desktop Outlook Add-In
Setting up the Outlook Add-In is quite simple.
To use the SILQ Outlook Add-in follow the below steps:
1. In the Desktop Outlook Add-In click on Get Add-ins
2. On the right hand side of the window that pops up in the search bar type in SILQ.
3. Click on Add
4. Once installed you can find the Outlook add-in here on various devices:
Outlook Desktop App:
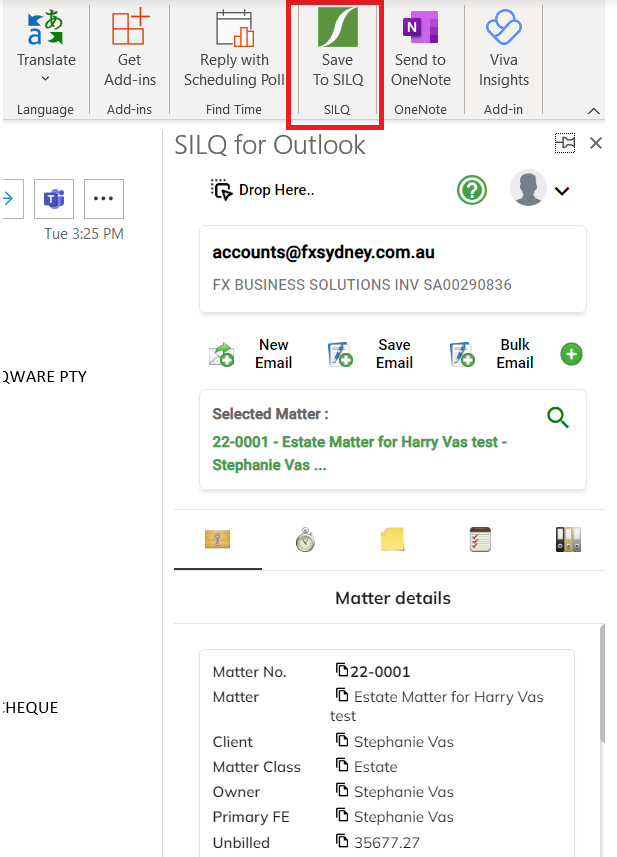
iPhone Outlook App:
Open up your email, click on the three buttons and you will see the SILQ icon.
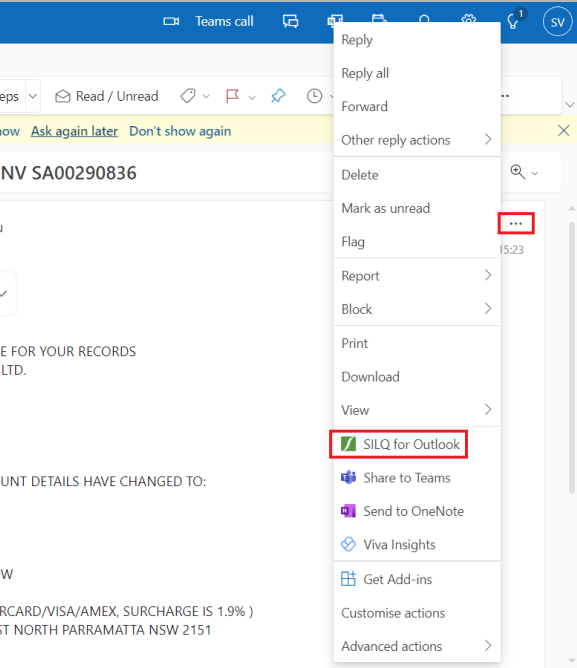
Outlook Online:
Open up your email, click on the three buttons and you will see the SILQ icon.
You can find more information here: Outlook Add-In