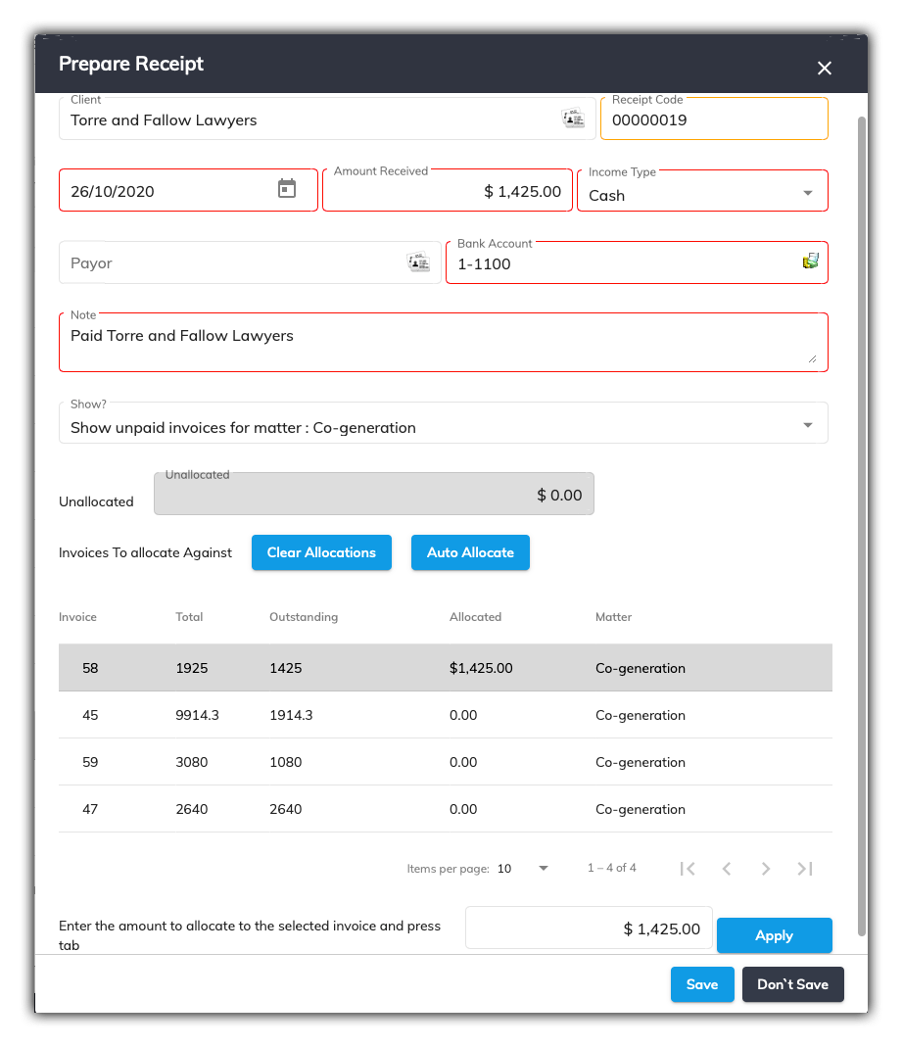
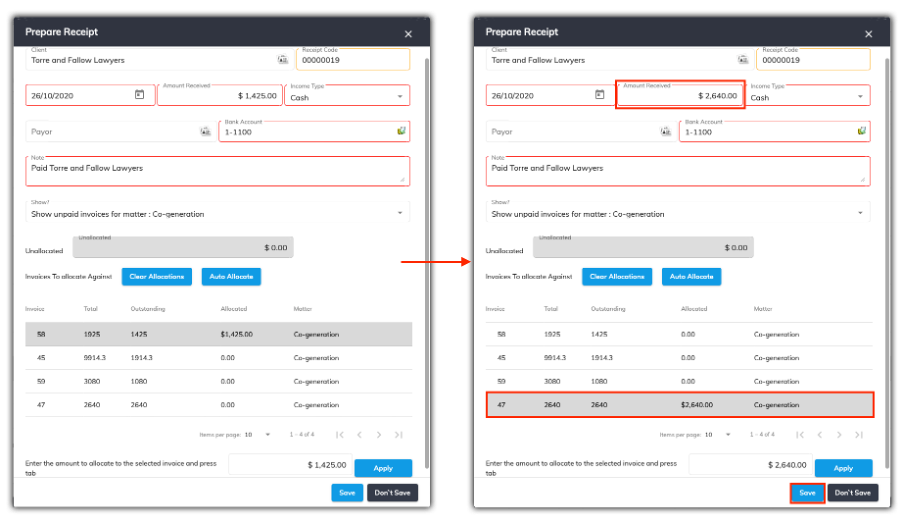
Prepare Receipt Window

To create a receipt, you will need to enter the details into the Prepare Receipt window. Take a look at the relevant field descriptions below.
Complete the following fields:
- Receipt Code: This is a unique receipt number that SILQ will automatically calculate. You can override this as long as the number is not already in use.
- Date Received: This is the date the money was received. It will default to the current date.
- Amount Received: This is the full amount of money that was received.
- Amount Ex-GST: This is the amount of the Receipt excluding GST. SILQ calculates this for you based on the invoices that have been allocated to. If money was allocated to an invoice that did not have 10% GST on it, then this figure would be adjusted accordingly.
- GST: This is the GST on the Receipt.
- Income Type: This is how the receipt was paid.
- Payor: This is who made the payment. If the name doesn't already exist it will ask you to add it to the payee list so it is available next time.
- Bank Account: This is the bank account the money was paid into.
- Note: You can make any additional notes that you want to.
- Show all invoices for client / Show only invoices for matter: SILQ can allocate a payment across any invoice for the client not just the matter. By default you are only shown the outstanding invoices for the selected matter, but you can view all outstanding invoices for the client by changing this option.
- Unallocated: This shows you how much of the amount has yet to be allocated to an invoice. Unless there is an overpayment this number should be zero. If not it will ask you to create a credit to be used on the next invoice.
- Auto Allocate and Clear Allocations: All receipt money needs to be allocated against a specific invoice(s). A receipt can be a partial payment of an invoice or pay off more than one invoice at a time, even across matters for the same client. The vast majority of times SILQ will send it to the correct invoice intuitively.

