InfoTrack Security Settings

SILQ allows you to control who has access to InfoTrack searching. This is an essential feature if you wish to restrict certain users from accessing this part of the system.
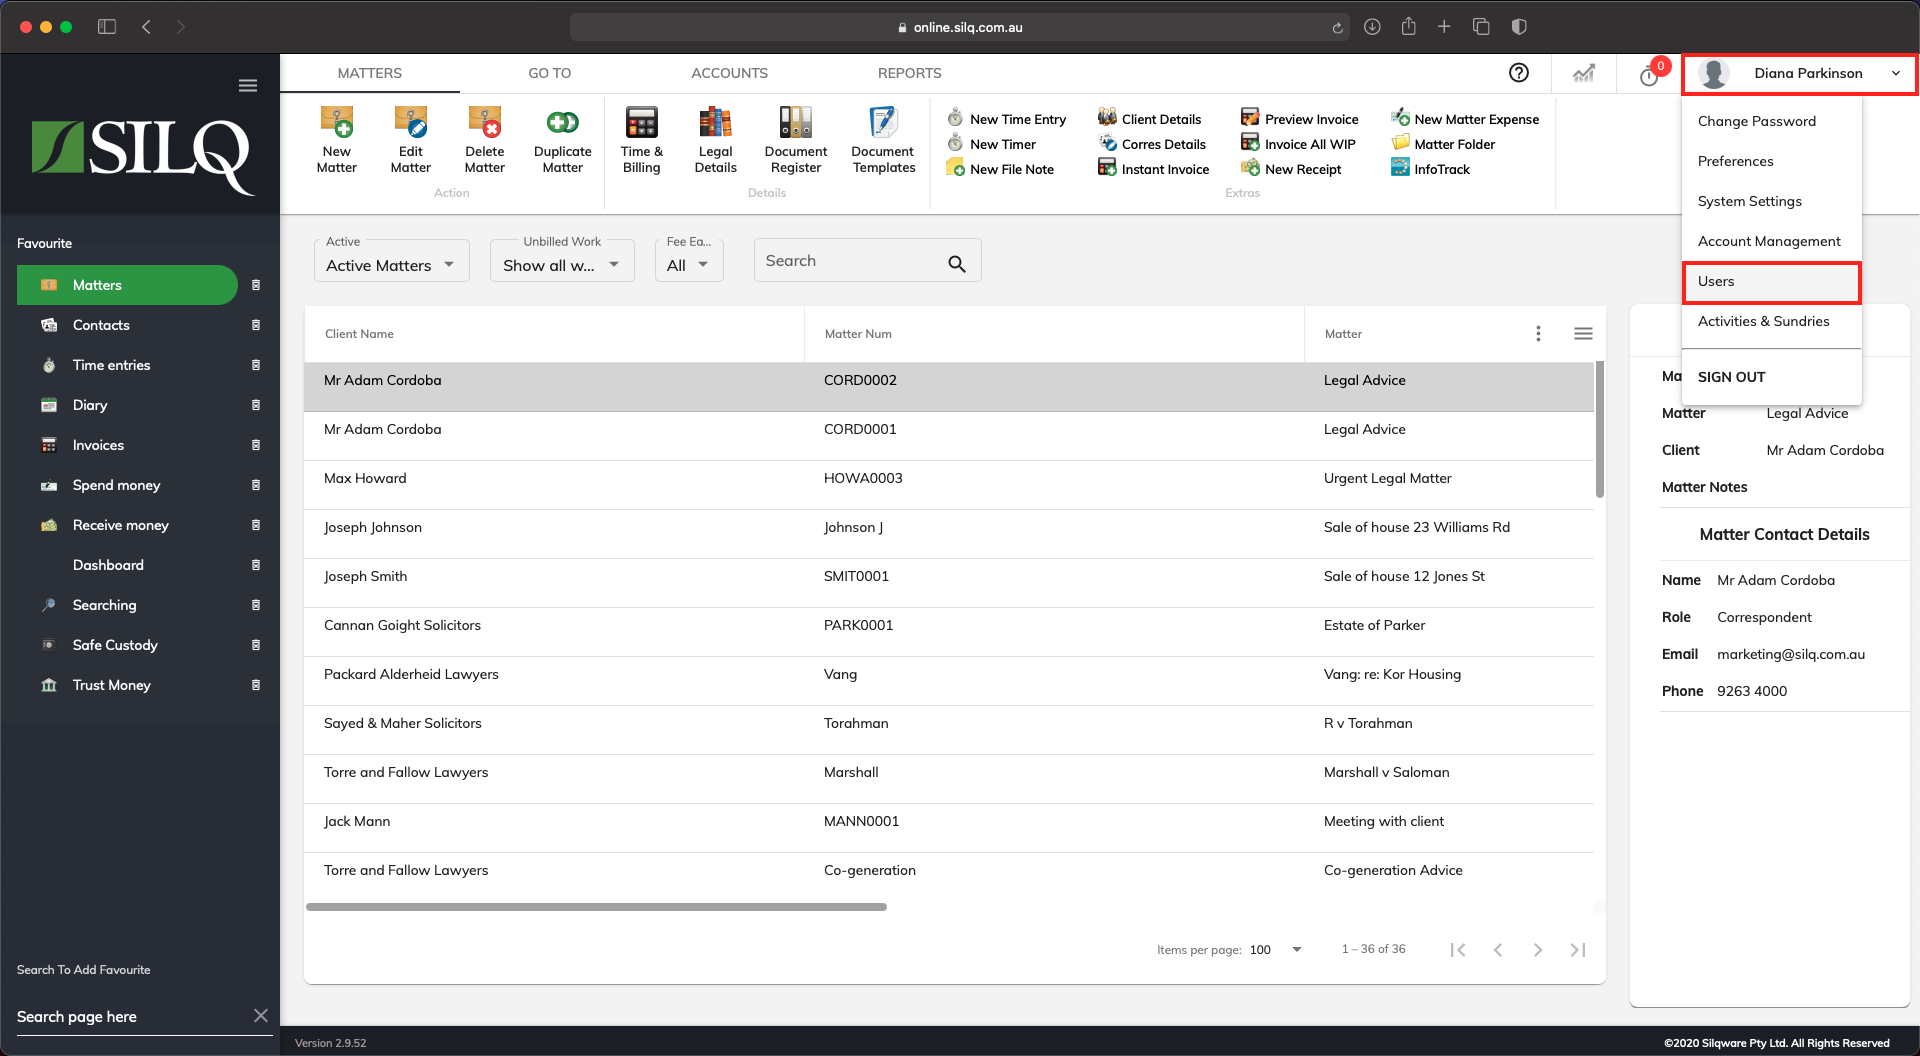
To restrict InfoTrack access, click on your name in the top right corner to view the drop down menu, then click Users.

This will show you the list of users for the data file.

Click on the user in the list you want to restrict access to and then click on the Edit User button in the top menu bar.
In the Update User dialogue box that opens up, there is a Security tab, which allows you to select what areas of the system the user has access to.
If you wish to restrict this user from accessing InfoTrack, scroll down until you see Searching on the list and click on it to expand it.
You will then see a list of actions the user is allowed to perform when doing an InfoTrack search. If you want to deny them access to any of these actions, click on the tick box to the left of the action to remove the ticks.
When you are finished click Update.

You can put in an individual user InfoTrack login details under the InfoTrack tab.
