To save sent emails to a matter, you have two options:
Option 1 - Bulk Email Button
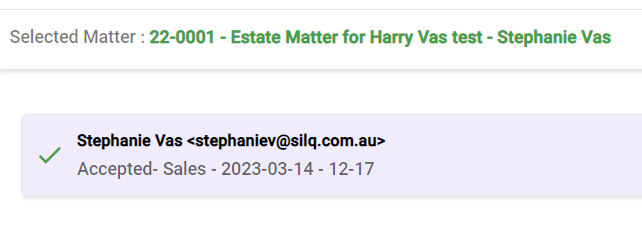
1. First, choose the matter you want to save the emails to
2. In the image below, click on bulk email

3. This will open up the bulk email window, see below
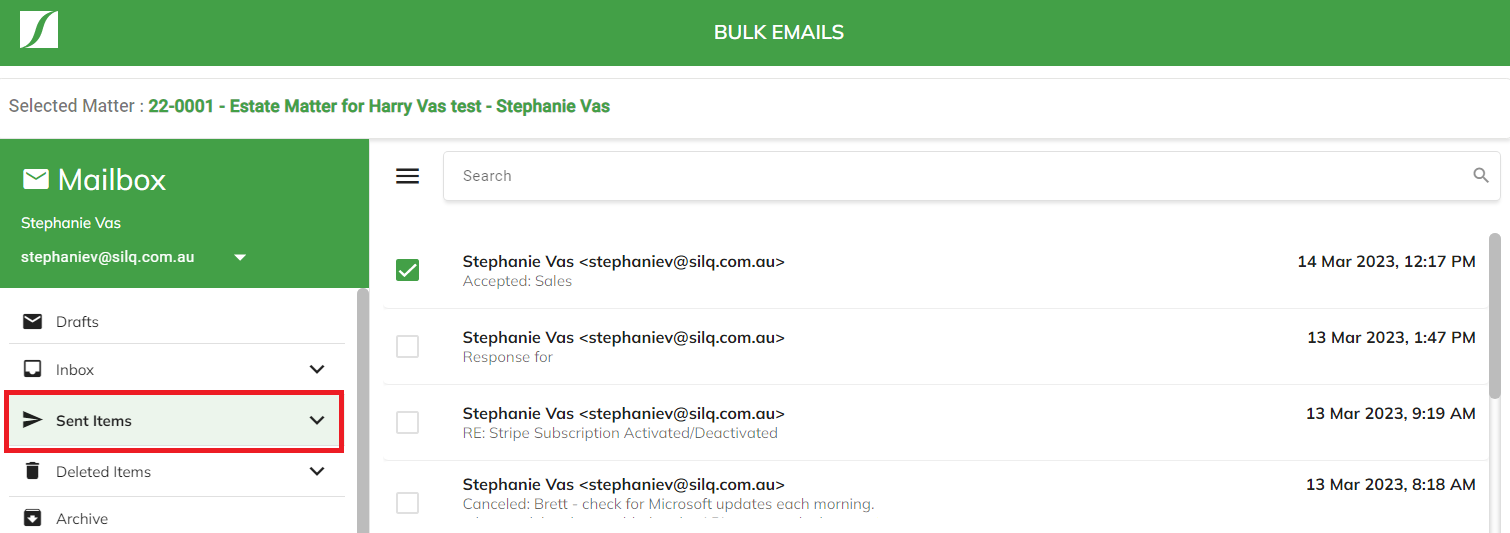
4. You will see that your whole Inbox is shown here. Go to your sent items
5. Tick the emails you would like to save. You have the option to search for a particular email if it is not immediately visible
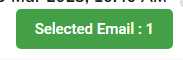
6. Once you have selected your emails, in the bottom right hand corner click on the Selected Email button. It is here that will let you know how many emails are going to be saved
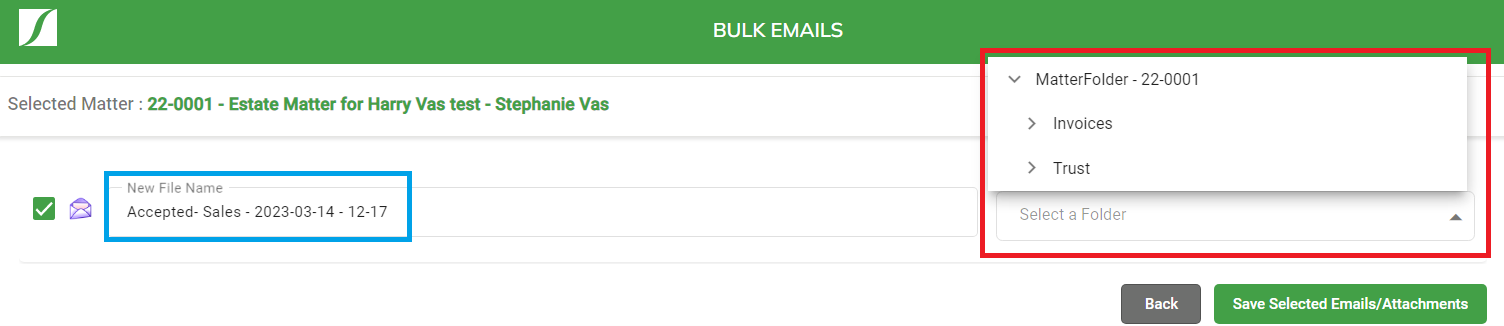
7. You will then be taken to the below screen where you can rename the email (blue box) and/or select the sub folder (red box) you would like to save to. Any attachments will be saved separately to the emails giving you the option to rename them accordingly also
8. Once you have made these selections you can press save
9. The box will then change to have a tick next to each email or attachment saved, letting you know that it saved successfully and to which matter. Once you are satisfied, you can close the box