
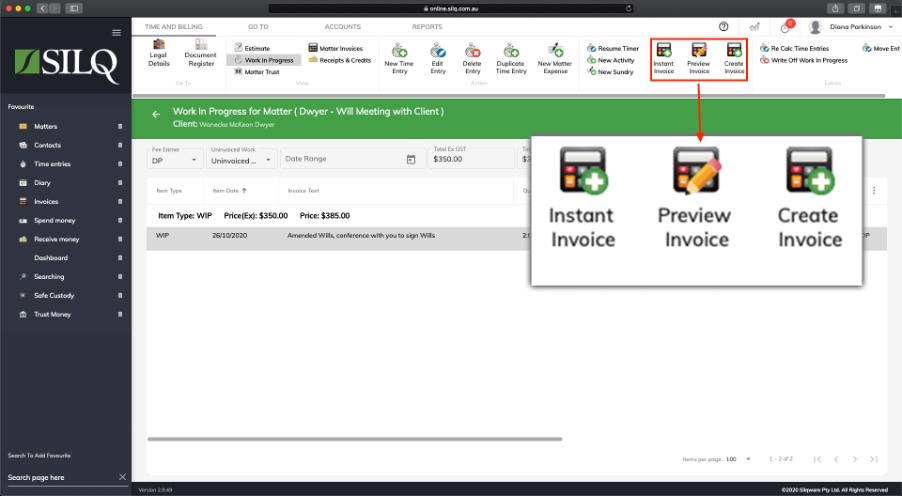
Once you are in the Work in Progress tab within the Time & Billing window for the Matter you selected, you are now ready to create your invoice for the chosen matter. You will see in the Top Toolbar 3 buttons, Instant Invoice, Preview Invoice and Create Invoice.
These are 3 ways to create your invoices, let’s look at each one and what purpose they serve.
Instant Invoice

Instant invoices allow you to create an invoice without having first entered time entries or for a single piece of work. It creates a "one-liner" invoice which is used either for single items of work such as a mention, or when you are migrating over to SILQ from another system.
To create an Instant Invoice, follow the steps in this article which will get you to the Work in Progress tab within the Time & Billing window for the particular matter you want to create an Instant Invoice for, as in the screen shot above.
Click on the Instant Invoice button in the Top Toolbar. The Prepare Instant Invoice window will open up.
Complete the details in the window which is what will appear on the invoice itself. Enter
the time and amount and click on Save. The select Invoice Pack window will open.

In the main window you have a few default options to select to generate your invoice, which include: Invoice, Invoice-Email, Invoice Chaser, Invoice Chaser – Email. Each of these options are document packs, which means you can create different packs of documents to generate when you create your invoice.
So for example, instead of generating a single document at a time, Document Packs allow you to generate a number of relevant documents all together.
For example: A document pack might include 2 copies of the Invoice, an Invoice cover letter and an envelope.
If you select any of the 4 default options and click on the Generate Invoice Only button, only the invoice will be generated.
In the following example, the Invoice pack was selected and the Generate Invoice Only button was clicked on.
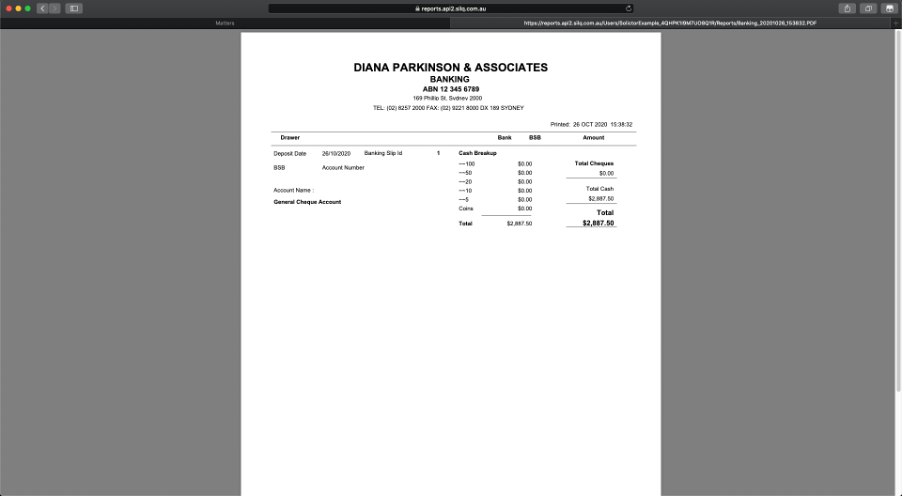
After you have clicked on Generate Invoice Only, your invoice will open up in your chosen document system.
Standard invoice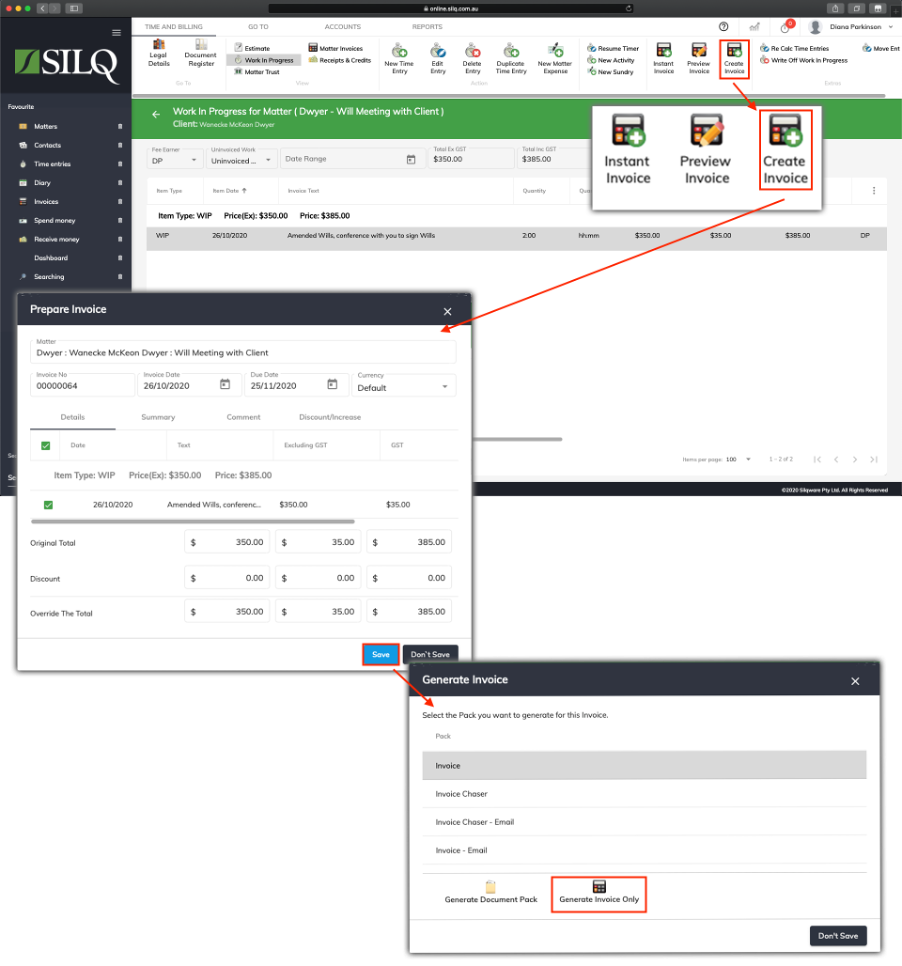
Standard invoices are the most commonly used format of invoicing. Over a period of time, you will have entered multiple time entries on various matters and you will need to turn them into invoices to send to your client.
There are two main ways to get into the Create Invoice window. You can enter via the Matters Tab or you can enter via the Invoices Tab. To see how to do this, refer to this article (matters tab), and this article (invoices tab).
When you are ready to create the invoice, select the Create Invoice button in the Top Toolbar.
The Prepare Invoice Window will open up where you will see listed all the work in progress entries you want to invoice the client for.
To the left hand side of each entry is a tick box. Tick the items you would like to appear on the invoice. If you want to select all the items, just click on the tick that is directly under the details tab.
SILQ will automatically generate an invoice number for you, though you can override it with another unused invoice number, as well as change the dates. You can also use the Override the Total fields to override the total of the invoice. If you are happy with the invoice, click on the Save button.
The Generate Invoice window will open, with a number of different packs that you can generate.
You can generate a Document Pack which includes a letter and envelope, or just Generate the Invoice only. If you don't want to print anything just select the Don't Save button.
Invoice Pack examples
Invoice: selecting this pack and then clicking on the Generate Document Pack button, will create an invoice and an envelope which will open in Word. These will be generated as these are the two documents specified in this pack.
Invoice - Email: selecting this pack and then clicking on the Generate Document Pack button, will create an invoice and an email that you can use to send the invoice to the client.
Invoice - Chaser: selecting this pack and then clicking on the Generate Document Pack button, will create a Bill 30 day Chaser letter. Useful for chasing outstanding accounts.
Invoice Chaser – Email: selecting this pack and then clicking on the Generate Document Pack button will create an invoice chaser email. Useful for chasing outstanding accounts.
You can also create your own document packs. Refer to this article.
Once you have decided which Invoice Pack to generate, click on either the Generate Document Pack button, or the Generate Invoice Only button.
Your invoice will then open up in your chosen document system.
Preview Invoice
Often times when producing invoices, you may wish to review your work before you actually create it and send it out. The Draft Invoice function is a little bit like Print Preview on your computer. You can create a draft invoice, print it out and proof it before creating it properly.
When you go into Draft Invoice mode, it will still display the invoices almost identically to the regular Create Invoice function, however it won’t save it, and it won’t create an invoice number. It is easy to see whether you’ve created a regular standard invoice or a draft invoice, by simply checking on the invoice itself.
When the Draft Invoice opens up in Word, simply check to see if it has an invoice number or does it display ######. If it displays the hash tags, then it is a Draft Invoice.
To create a Preview Invoice follow the exact same steps like you are creating a Standard Invoice, except click on the Preview Invoice button instead. Below is an example of the Draft invoice that is generated. You will see the invoice number is represented by hash tags.
