
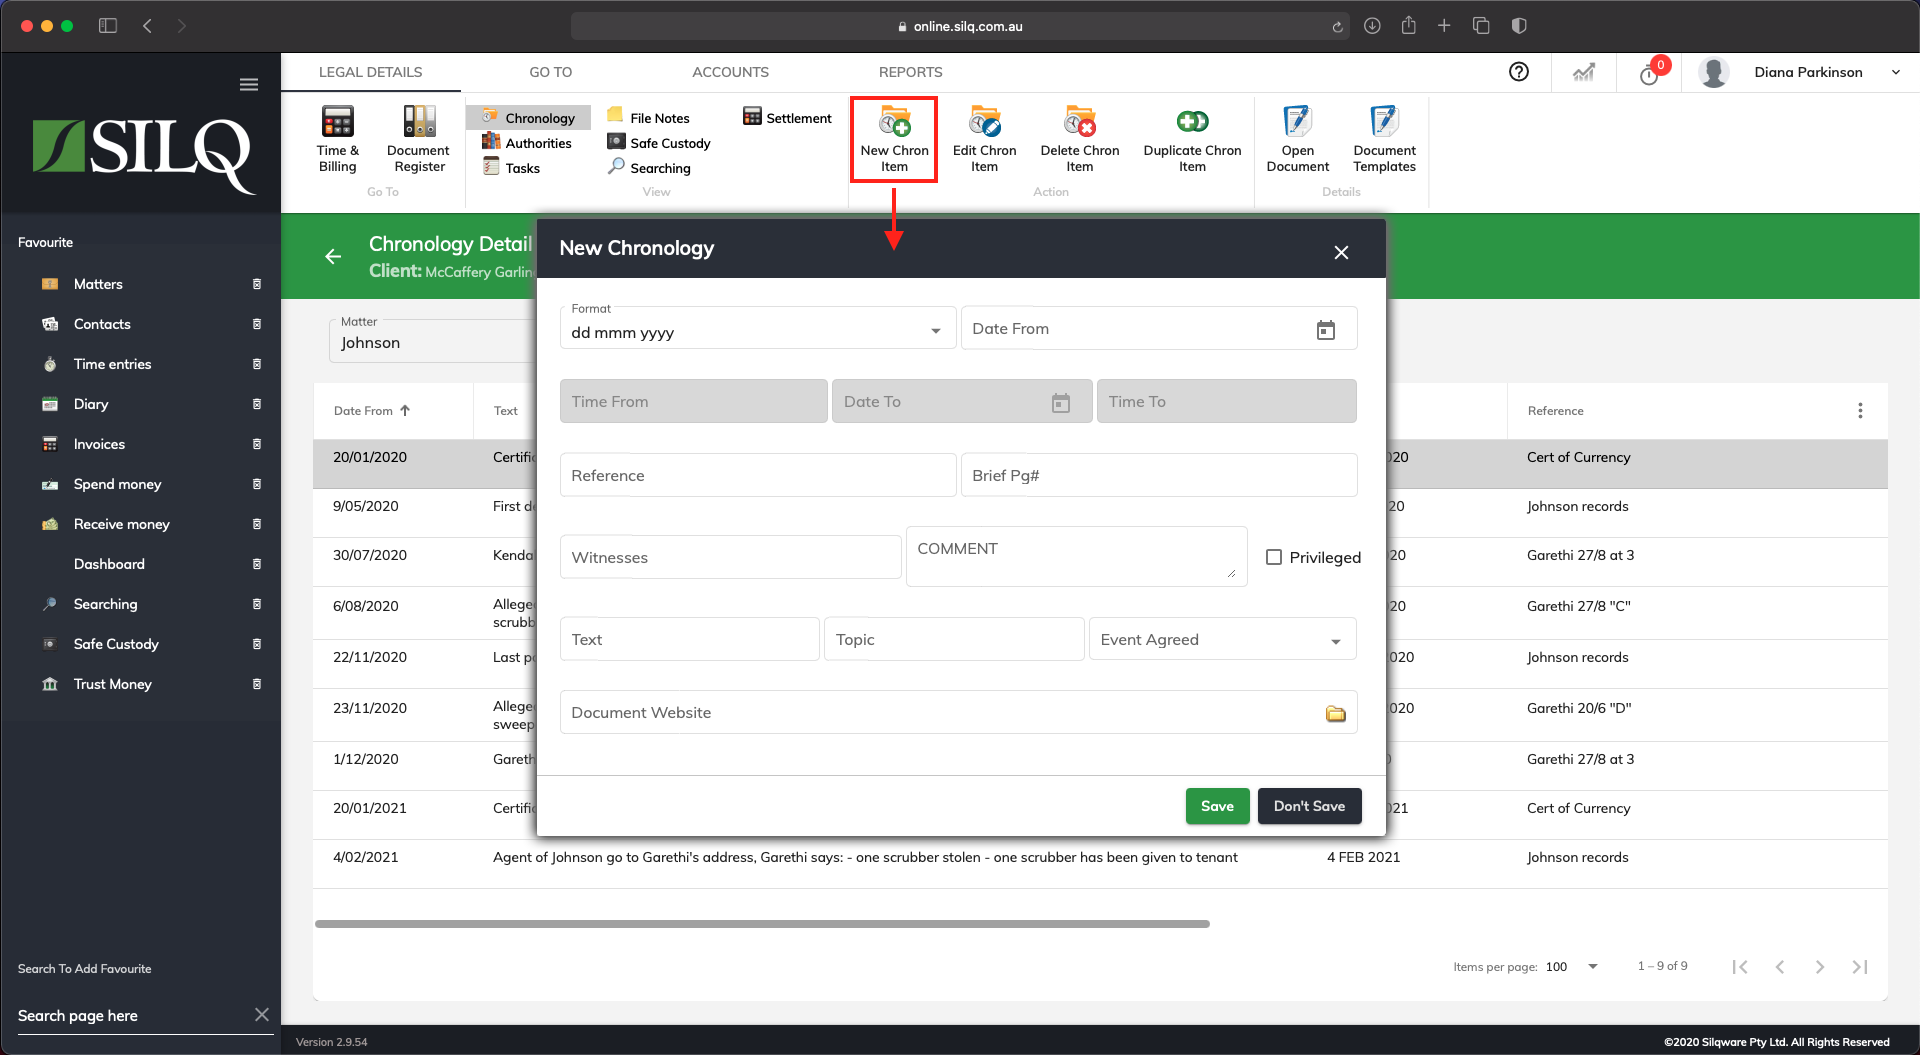
To create a Chronology entry in SILQ once you are in the Legal details area for a particular matter, click on the New Chron. Item button in the Top Toolbar. The Update Chronology window will appear, allowing you to enter a new Chronology item. Refer to the example above.
An explanation of each field is below:
- Format: SILQ supports a variety of date and time formats. These include: date (DD- MM- YYYY), month (MMM-YYYY), year (YYYY), date ranges, month ranges, year ranges, time on a specific date, time ranges etc. Select the one you want and then enter the values into the appropriate date and time fields. If it is a month or year only value, you still need to enter a full date as this controls exactly how it is ordered, but only the month or year is displayed
- Date From: This date is always required and a full date needs to be entered regardless of the format as this is used for sorting purposes as well
- Time From: This is used when using a time format it will also use this for sorting purposes as well
- Date To: Enter this date if you are using a date range format
- Time To: Enter this date if you are using a time range format
- Text: Enter the description of the item
- Topic, Comment, Reference, Brief Page #, Witness and Event Agreed: are all optional fields that allow you to track more specific information about an item
- Document/Website: This allows you to attach a document or web link that is relevant to the chronology so that you can retrieve it when necessary. You can click on the Open Document button to open the file or web site.
Once you have entered all the information you require into the relevant fields, click on the Save button, and the chronology item will be added to the list. Repeat this process to add all chronology items.