
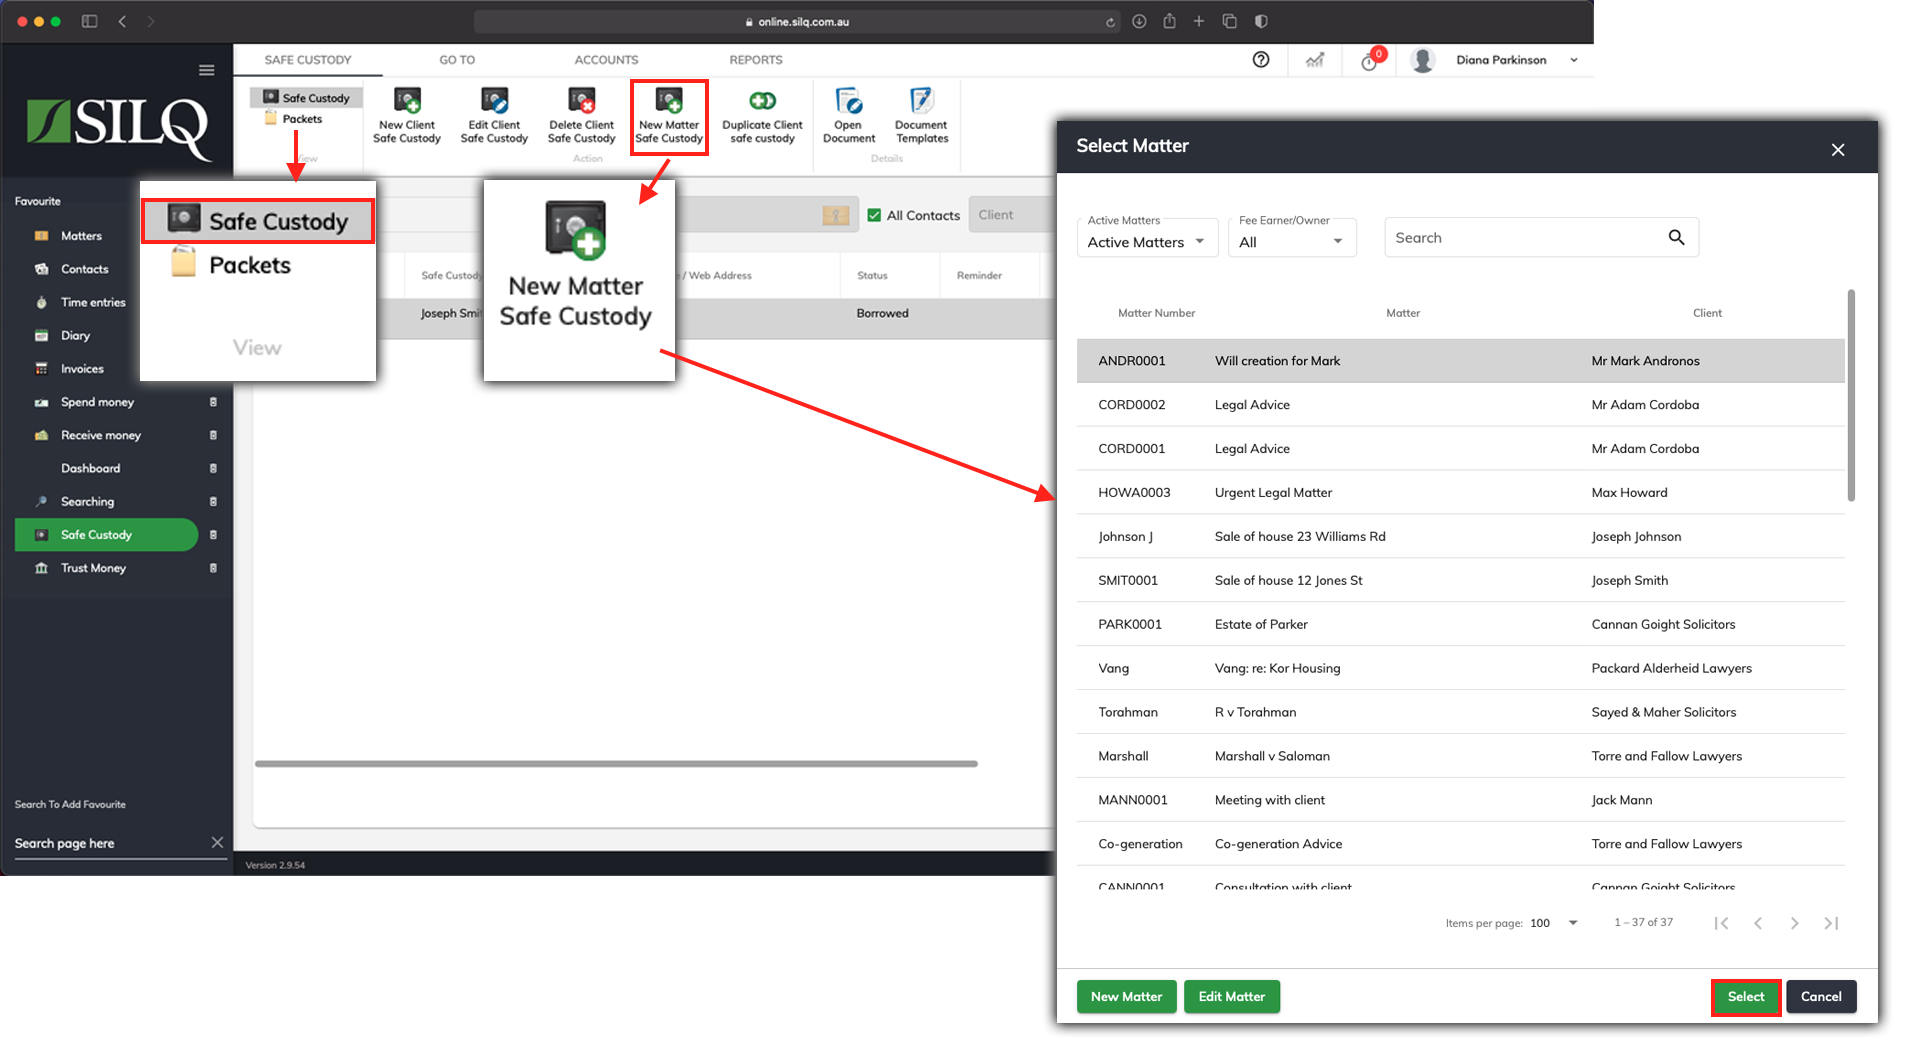
After you have added a packet for the safe custody item, click on the Safe Custody tab on the top left-hand side of the main safe custody Window.
Next click on either the New Client Safe Custody button or the New Matter Safe Custody button in the Top Toolbar. Select Client if it’s not attached to a matter, otherwise select Matter.
In the example above Matter Safe Custody has been selected. The Select Matter window will open up. Click on the matter to associate the safe Custody item to, and then click on the select button.
The New Safe Custody window will open up. Here is where you enter the details of the safe custody item.
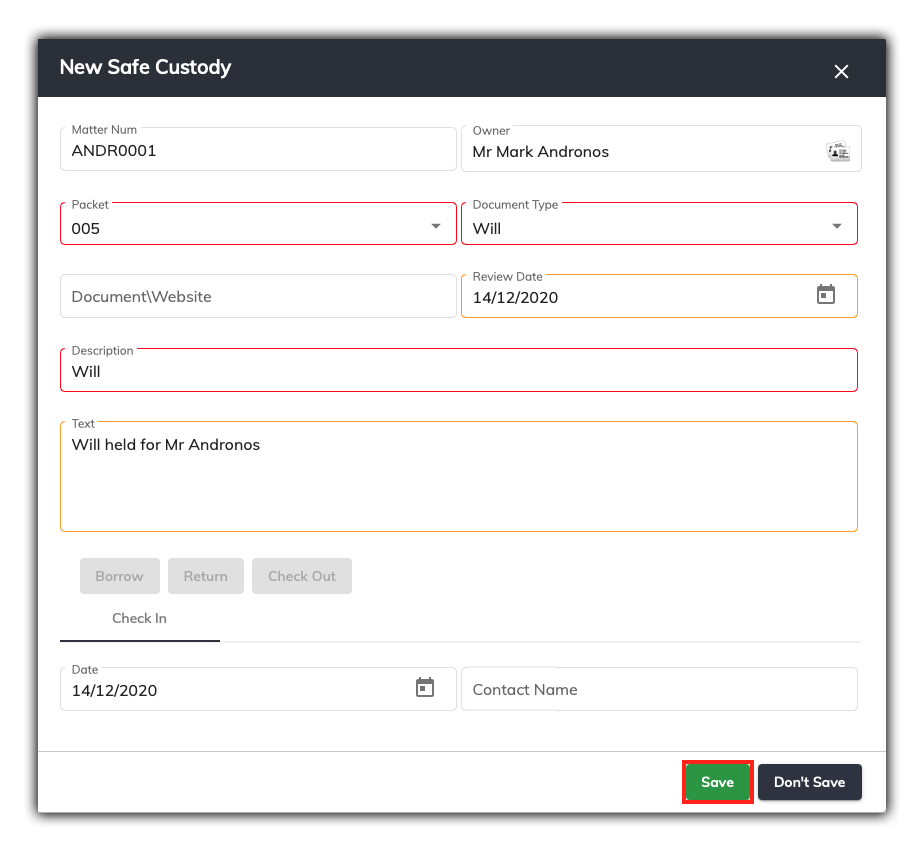
Field Descriptions:
Owner: This will be pre populated, but you can select a different owner.
Packet: Choose the Safe Custody Packet from the drop down menu
Document Type: There are a number of pre populated options from the drop down menu
Description: This mandatory field is where a description of the item is entered
Details: Complete as much detail as possible
Document/Website: Enter if applicable or if document is a scanned copy; include the hyperlink to its location
Review Date: Enter a date that the safe custody item should be reviewed
Once you have entered all the information, click on the Save button on the bottom right-hand side of the window to save the safe Custody item.