
A great SILQ feature is the ability to connect your Inbox to SILQ either via Microsoft 365 or via an SMTP connection.
Once you have your email connected, you are able to send emails, view incoming emails and save either incoming or outgoing emails (not reply's) to a suitable Matter in SILQ.
View your Inbox
The Inbox in SILQ is a similar layout to most email clients. You can scroll through and look at all of your emails as you would anywhere else. See image below.
Save an incoming email and it's attachments
In the Inbox, highlight the email you want to save and click on the save to register button. This will prompt you to choose the relevant matter and then ask you if it is just the email you would like to save, or the attachments also. Once saved, you will be able to see that email in the document register for the selected matter. It will also be saved in whatever document storage you have chosen (i.e. SharePoint, Dropbox or OneDrive).
Some customers like to delete their Inbox. If you like to do that too, at this point you can delete the email from your inbox as you have a copy in document storage.
Be sure you have a document storage set up before you decide to delete emails from your Inbox.
The above video shows you can chose which sub folder to save the email to, however at that step you can also rename the email to anything you like.
Send an outgoing email and save to register
In the top ribbon, SILQ gives you the option to send an email either with a pre-defined template or just as a simple email.
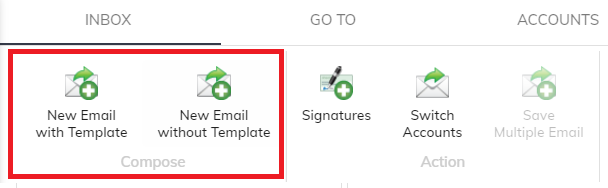
In order to send an email with a template:
1. Click on New Email with Template in the ribbon (see above image)
2. Select the matter the email is for
3. Select the template you would like to use
4. If you have more than one correspondent on a matter SILQ will ask you which you would like to send to. You also have the option to add a CC or BCC
5. All information from the template will be pre-populated.
The same steps can be followed for new email without template, however you will just see a blank email. Other than your signature and the correspondents email address if you have it, the subject and body of the email will be blank.
6. You can select an attachment from the already saved documents in that Matter's document register to attach

6. You are able to save the email to the register from this screen also. The matter will already be pre-populated as you selected it in step 2, however you will also be able to select the subfolder you would like it saved to